Grey Chalk Paint Dining Table
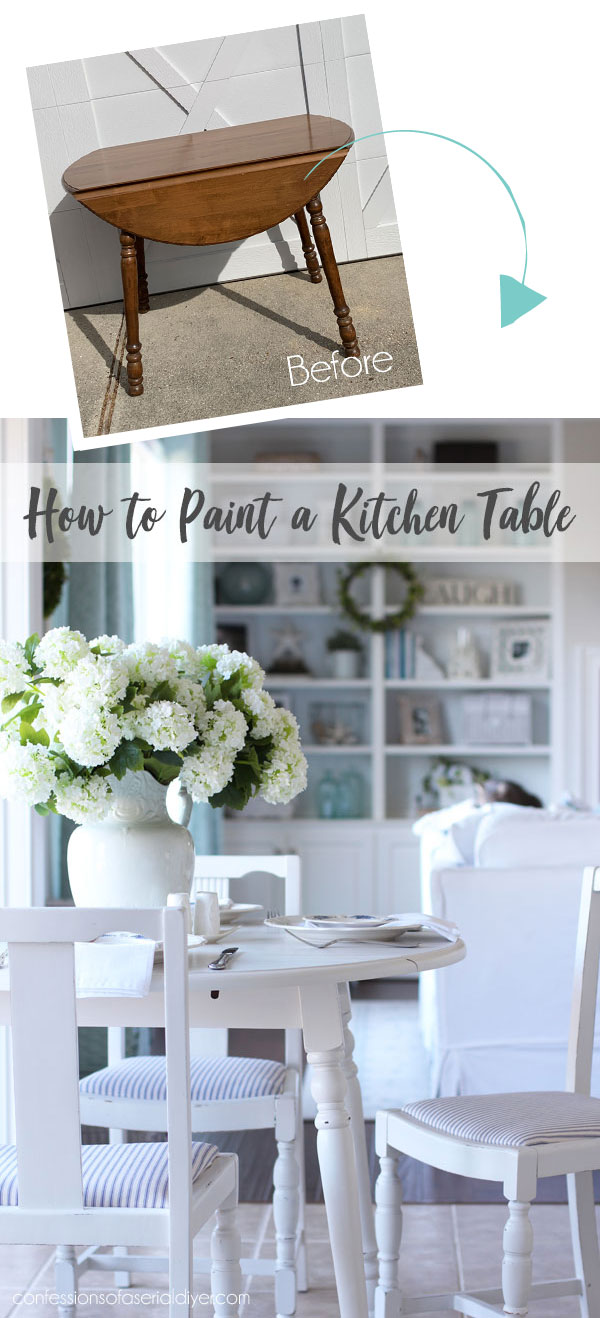
Hello amazing friends! Today I'm back sharing how to chalk paint a table and chairs! I originally shared this post about a year ago, and I just love how paint transformed this dated looking table into a real cottage charmer:
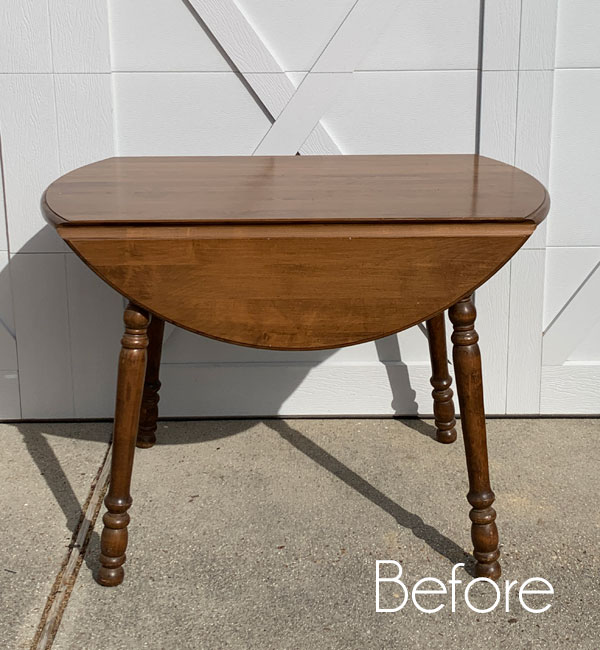
I found it at the thrift store for $15! What a deal, right?? Good furniture at decent prices has been really hard to come by lately at thrift stores. I've included a few affiliate links so you can find the products I love.
What I was most excited about when finding this sweet table was the fact that I already had these chairs that I knew would go perfectly with it:
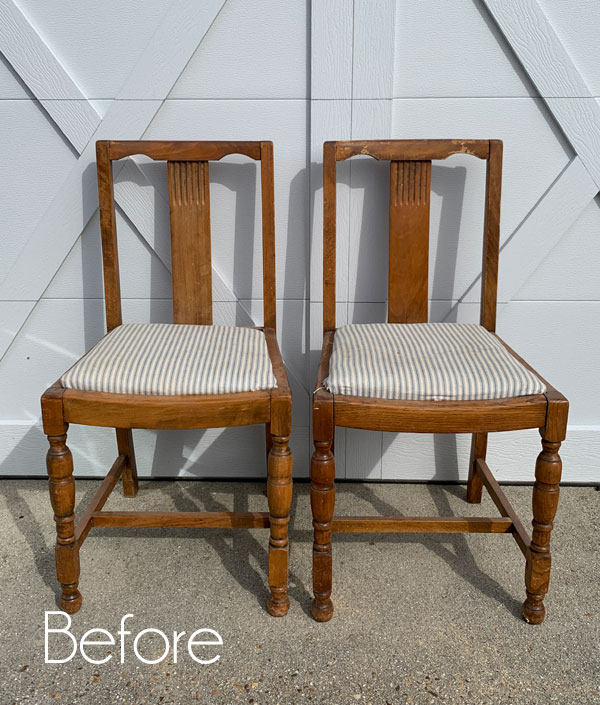
This table is the perfect size for an eat-in kitchen. Let's get painting!
Prepping the table and chairs
The only prep your table should need when using chalk-mineral paint is a thorough cleaning. I used White Lightning for this since it is not only a fantastic cleaner, but also a deglosser:
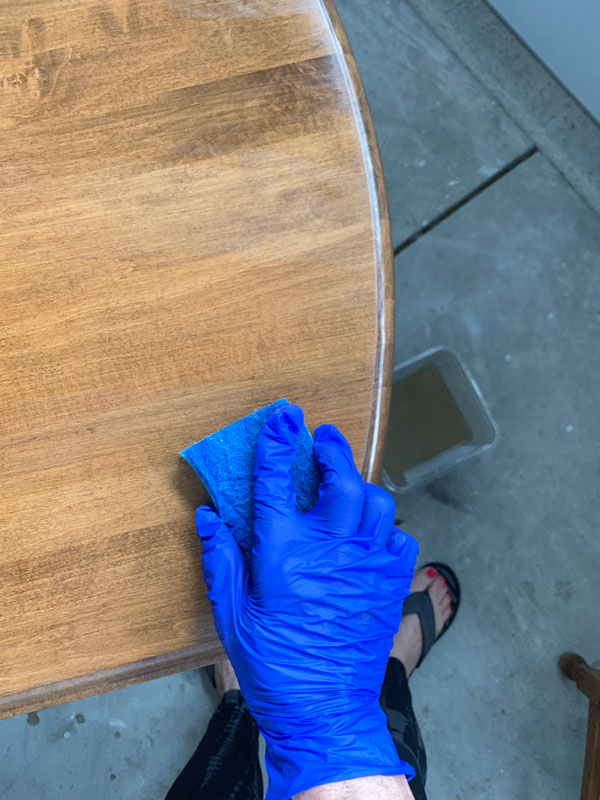
I mixed one TBSP with half a gallon of warm water and used a kitchen sponge to clean the surfaces of all three pieces. This table didn't seem that dirty, but the water says otherwise! I switched out the dirty water for clean water and gave everything a quick rinse. You'll want to wear gloves to protect your hands.
No prior sanding or priming is typically needed with chalk paint, so that is all the prep required.
Chalk Paint the Table and Chairs
Then I got to painting. I gave the table a coat of Fluff:
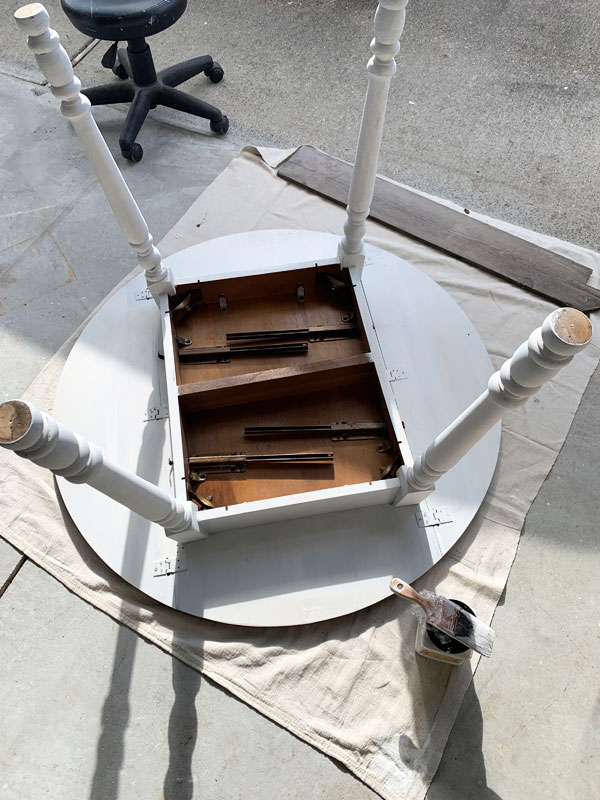
I like to start tables that are drop leaf like this one by painting the underside and legs first. (I will paint, sand, and seal before flipping it upright and painting the top.)
For the chairs, I gave them a quick coat of Rustoleum spray primer in my spray shelter just to get a quick coat on them:
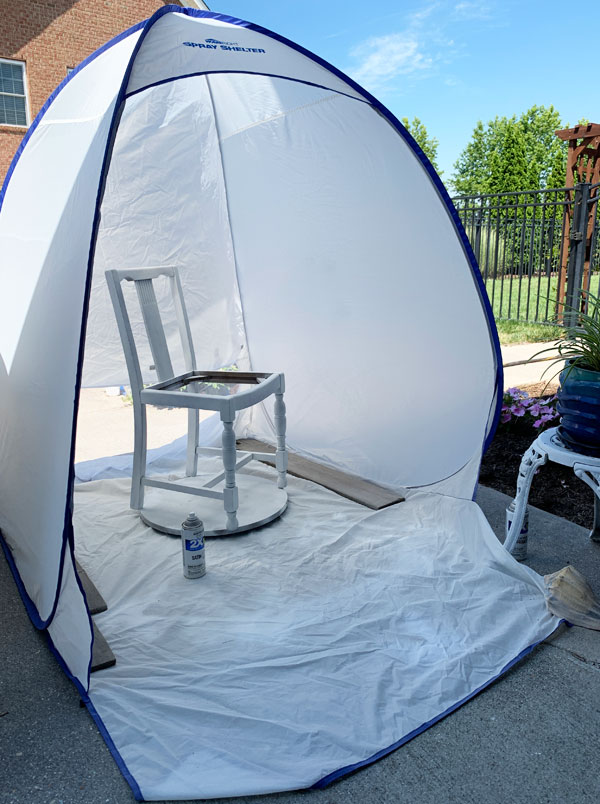
This is not a necessary step at all…just quicker than painting the whole thing by hand. Then they only needed one coat of Fluff, which I brushed on…
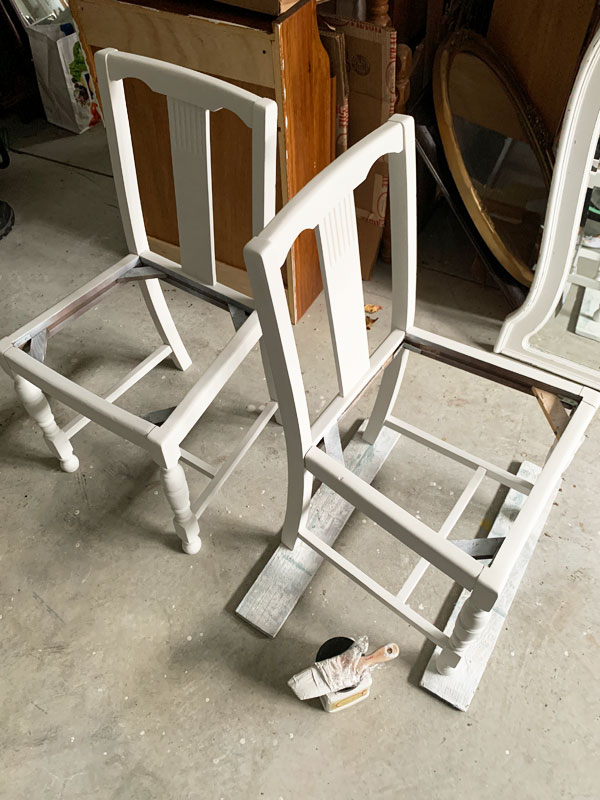
If your table is older cherry or mahogany, you may have issues with bleed-through. I ended up having a couple of areas that bled-though on the table, like on the legs where the original finish was worn away:
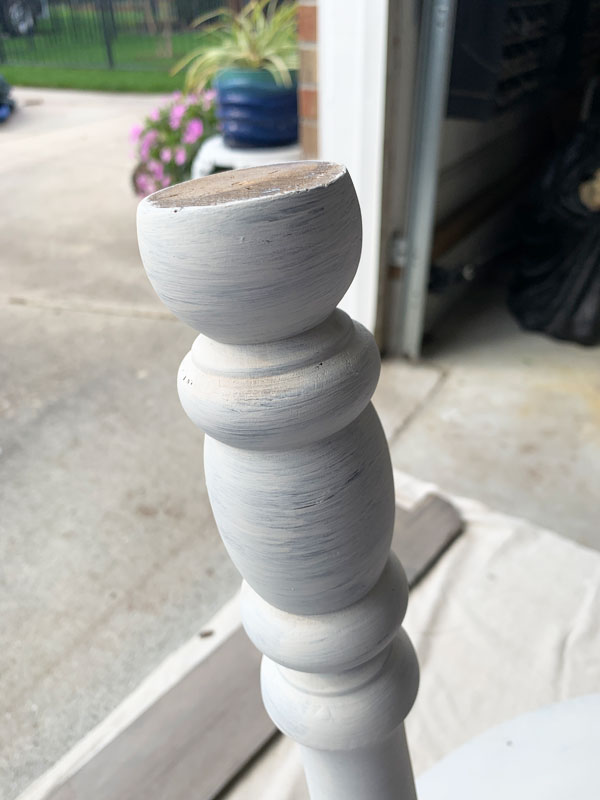
And also on the underside of the table in a couple of places:
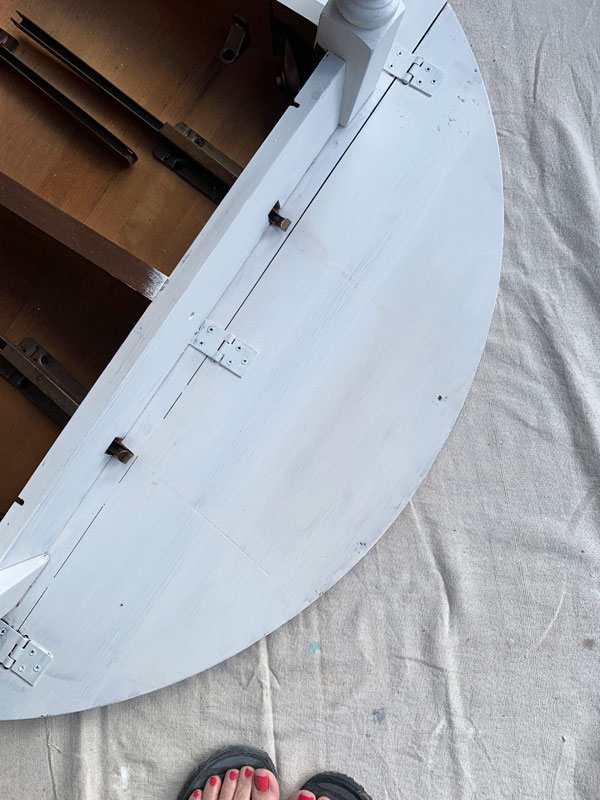
Bleed-through
I did not anticipate that this piece would be a bleeder or I would have started with a coat of BOSS in white. (It is also available in a clear formula and gray formula as well.) However, it is never too late to to apply BOSS to save the day from the dreaded bleed-through!
You can spot "prime" with it in just the areas where you see the tannins coming through if you like, or in this case, I just gave the whole thing one coat:
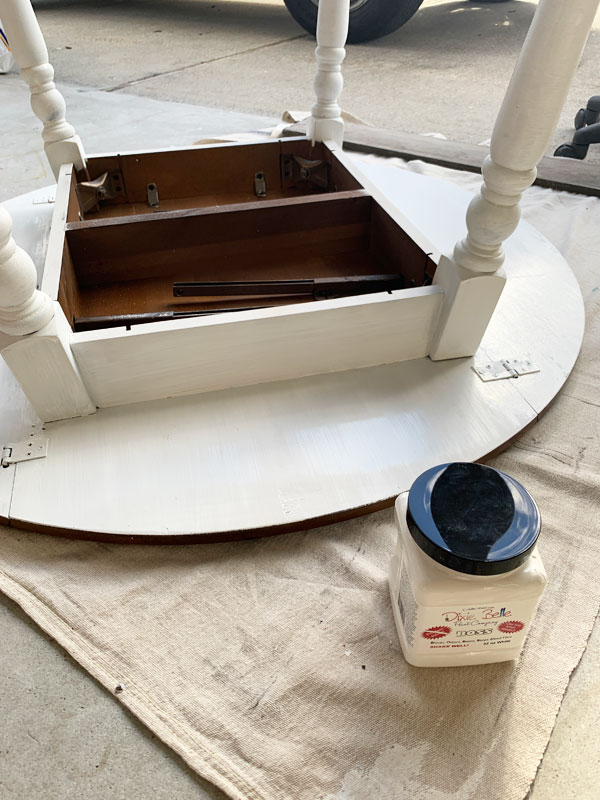
I let it sit overnight.
Allowing proper dry time is key!
Then I applied another coat of Fluff the following day.
No more bleed-through!

Sand
Although there is no need to sand your pieces prior to painting when using chalk paint, you will want to lightly sand all over after the final coat of paint is dry.
I sanded both the table and chairs with 220 grit sandpaper that I wrapped around an old sanding sponge to make it easier to handle:
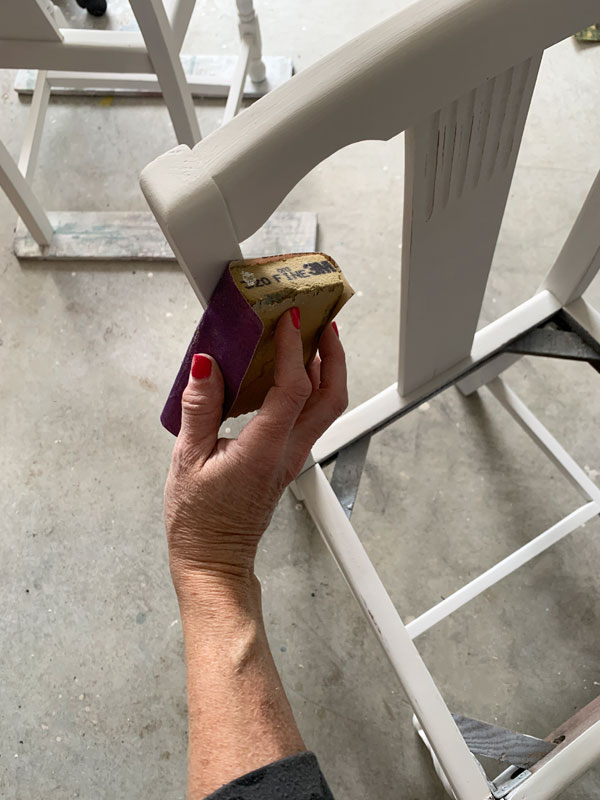
Sanding will give your pieces a super smooth and buttery soft finish. Be sure to wear a mask when you sand so you don't breathe in all those dust particles.
I cleaned up the dust with my shop vac, and they were ready to be sealed.
Seal
The final step to painting your kitchen table is sealing the paint finish.
For high-traffic pieces like this, I use Gator Hide. It's Dixie Belle's toughest topcoat and is also water repellent, and I apply it with the blue sponge applicator:
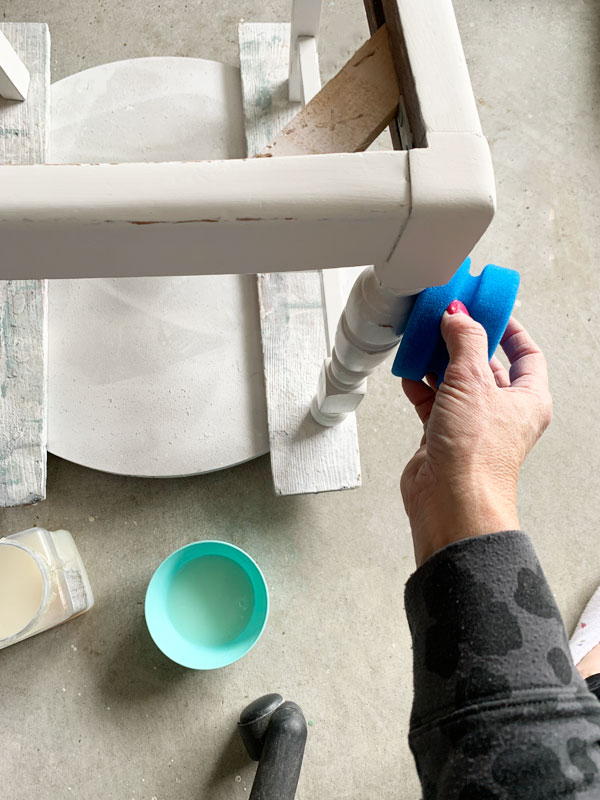
Since this will be in a kitchen, I gave everything two coats, allowing them to dry in between coats.
You will want to use your new table with care for about three to four weeks to allow the Gator Hide to fully harden and cure.
Here is a video that you may find helpful showing how I seal a table using the sponge:
If you have trouble viewing, find it on YouTube HERE.
The After
Are you ready to see how this set looks now?
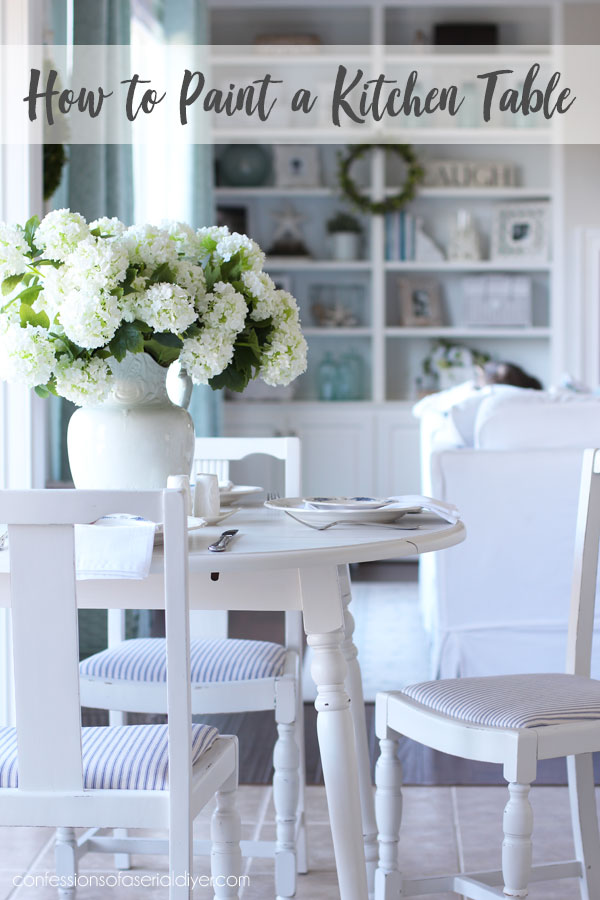
Much more updated!
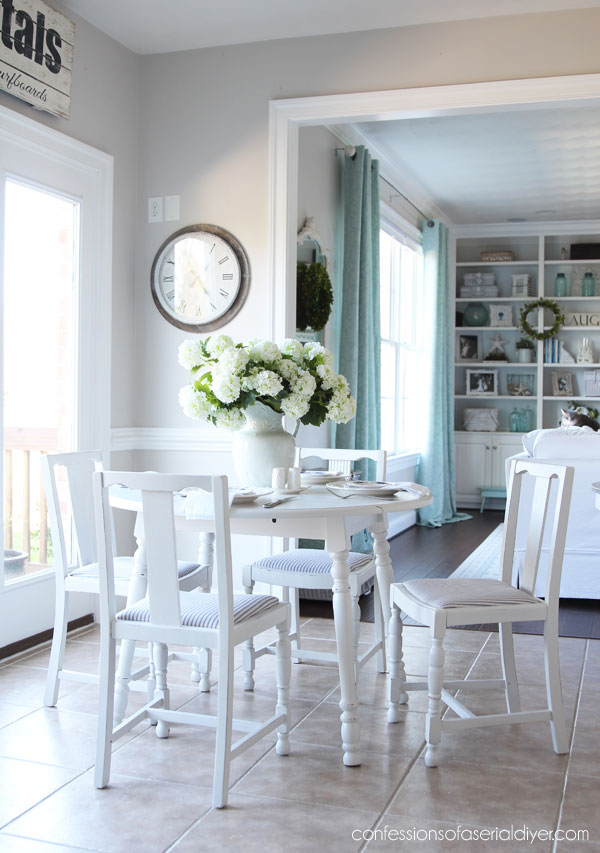
But I thought there were only two chairs?
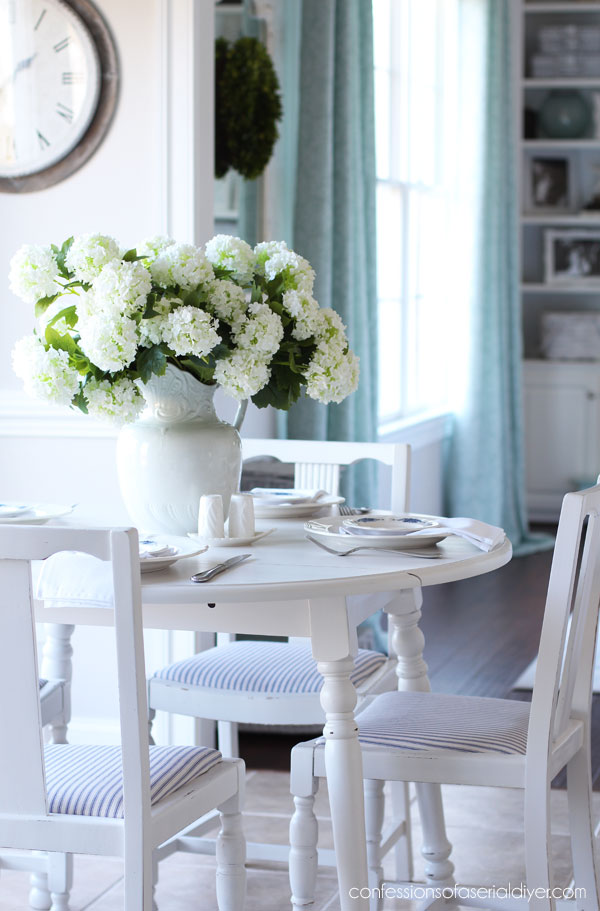
That's true! There were only two, but remember this cute set I shared last summer?
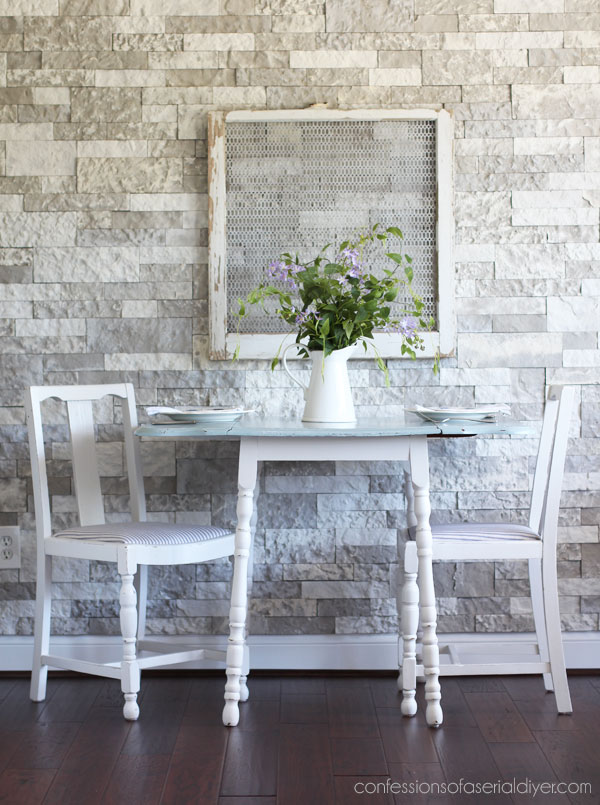
I priced the pieces separately, and the table sold almost right away. That left me with two stray chairs in my booth.
You can imagine how excited I was to find the round table so that I could match all four chairs to it!
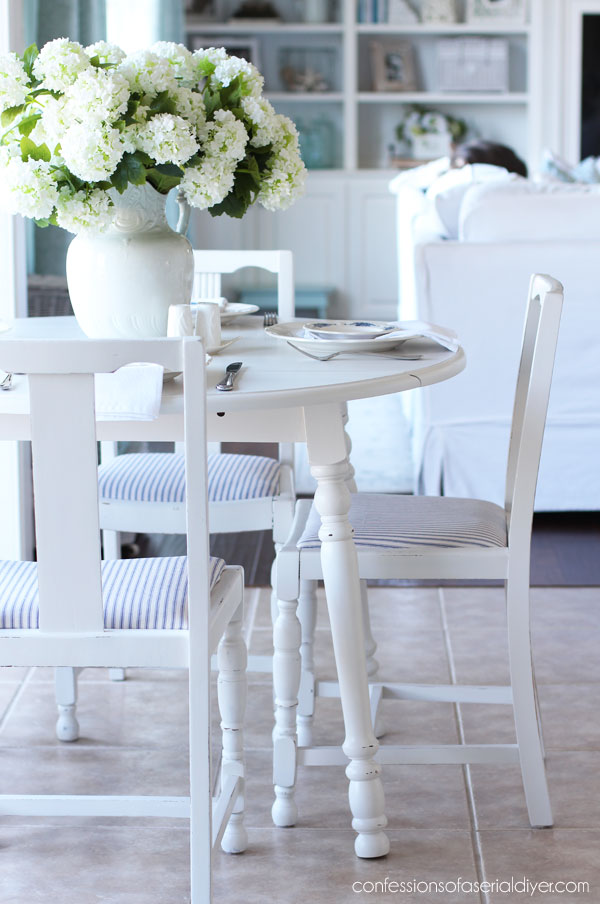
And that is the reason I chose Fluff for this set, to match the two existing chairs!
Of course, y'all know I love Fluff anyway. It almost always covers in two coats. I painted our bedroom set in Fluff as well, and it still looks as fresh as the day I finished it!
The seat cushions were recovered in the same ticking stripe as the first two:
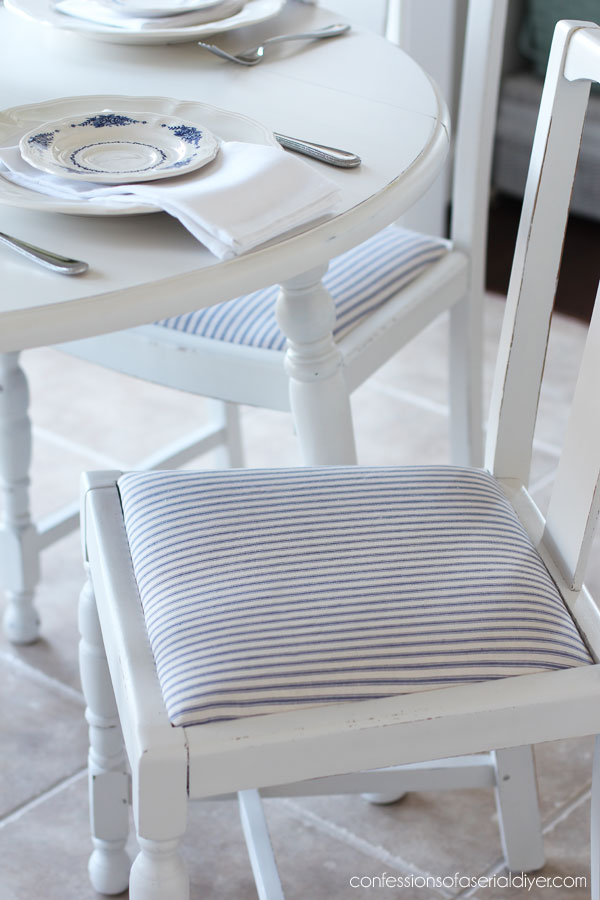
Originally, two of these chairs already had blue and white ticking from my old old kitchen when these chairs still belonged to me. I had a blue and yellow kitchen back then and I had done the other two chairs in a yellow and blue check. My friend eventually bought them from me. Then several years later, she offered them back to me. Of course I said yes!
Ticking is so timeless and I just love the cottage feel of it!
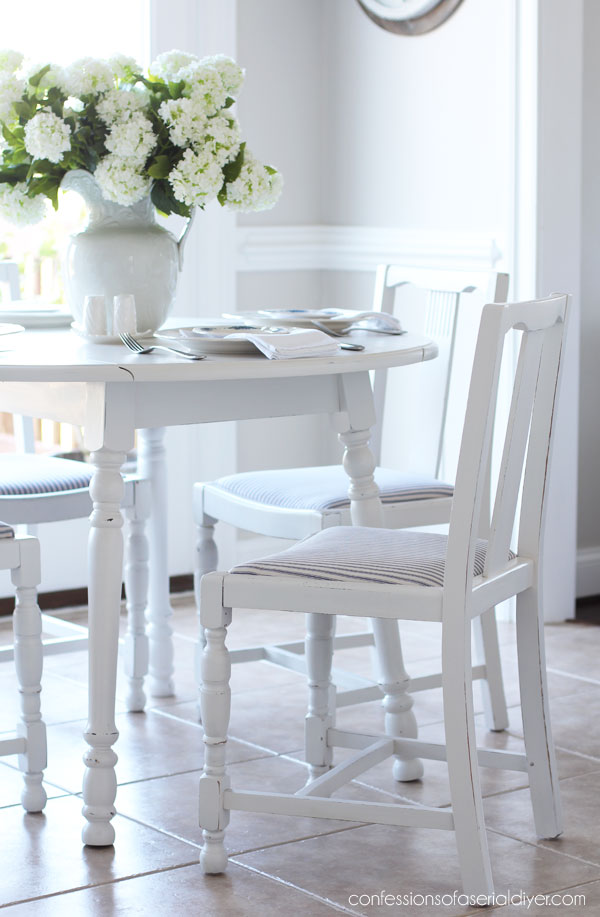

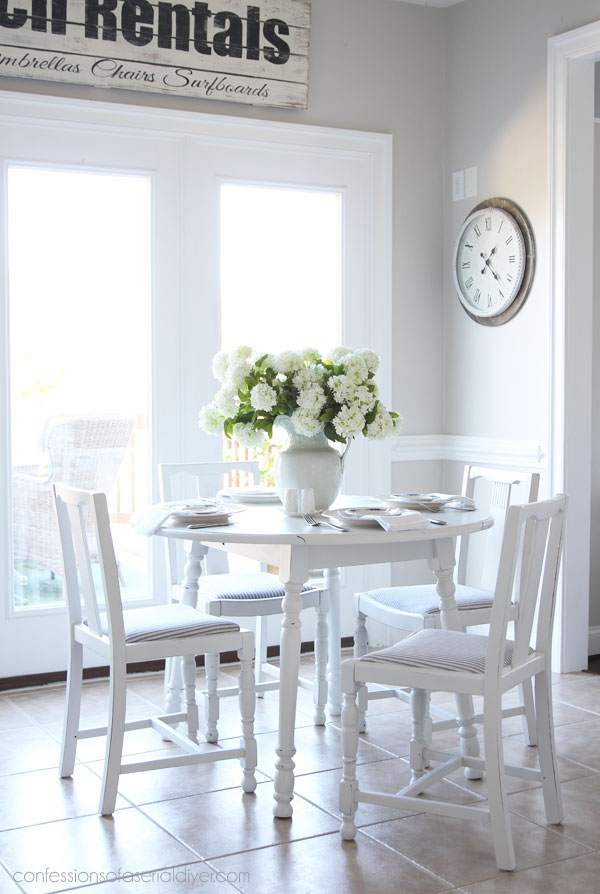
And that's how you chalk paint a kitchen table and chairs!
If you missed it, here is the table I originally paired two of the chairs with last summer:

You can see how it turned out HERE!
I'll be back on Tuesday with 10 of my favorite black painted furniture makeovers:
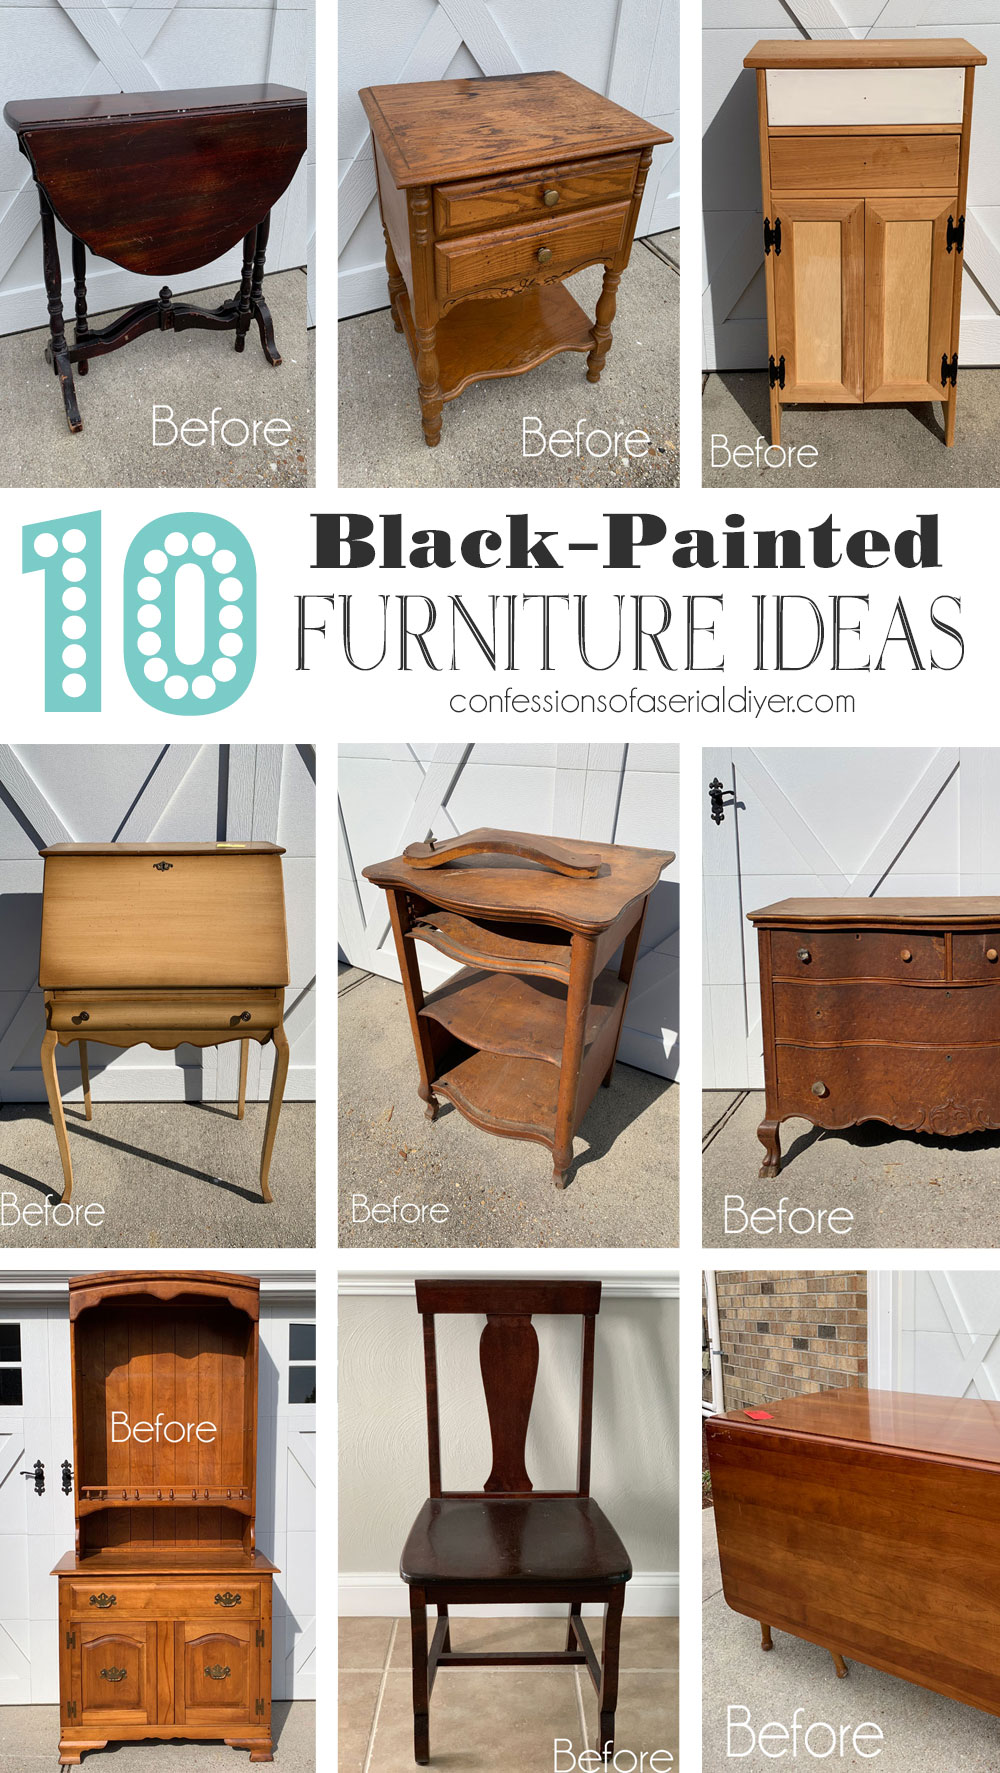
UPDATE: See them all here now!!
XOXO,
![]()
Don't Miss a Thing!
If you like what you see, there are several ways to follow along!
EMAIL *INSTAGRAM * FACEBOOK * PINTEREST * TWITTER

Source: https://www.confessionsofaserialdiyer.com/how-to-chalk-paint-a-table-and-chairs/

Posting Komentar